The coloring interface contains the picture to be colored with the coloring tools below it. The brush size selector showing the currently selected size and color, and the eraser tool are at the bottom. To the right are the sixteen colors that make up the color palette with the trash can and help buttons underneath.
You can paint with any of the four different tools under the picture. They are, from left to right:
- The Crayon Tool - Gives a slightly blotchy effect and is close to full strength color. Select the Crayon tool to create a sponge-like stroke that is a bit lighter than the brush size sample shown at the bottom. Also, it is transparent and can color over other colors. Quick dabs provide a sponge effect, while strokes give solid lines with blotchy edges.
- The Marker Tool - Draws a smooth solid stroke that is about half the strength of the color shown in the brush size sample at the bottom. It also draws with transparent strokes, though more so than the marker tool. Other colors can interact with it to produce mixed colors or a stronger version of the same color.
- The Rainbow Brush Tool - Creates a multicolored stroke. Select the Rainbow brush for a fun splash of colors. This tool also uses transparency and will create a darker overlapping effect when stroked over existing color, just like the crayon and marker tools.
- The Fill Bucket Tool - Click with the mouse on any area and it will fill a bounded area with full strength color shown in the rectangle at the bottom. Boundaries include the black outlines and any other stroke or fill already applied. The bucket tool can quickly fill between black lines and replace solid colors.
There are three other tools in the interface:
- The Eraser Tool - Deletes colors, leaving white. You can select its size with the brush size selector to the left.
- The Trash Can - Click the trash can to clear the picture of all colors.
- The Help Icon - Click on the question mark to display this file containing help and hints.
NOTES:
The crayon, marker, and rainbow brush tools require a brush size be selected from the seven circular dots at the bottom. The selected size is outlined with a black circle.
While the fill bucket exactly matches each palette color, the marker and crayon tools stroke a lighter shade of each palette color.
In order to paint areas completely with a solid and consistent color, don't lift the crayon or marker tools until the area is completely filled, because subsequent strokes will create a darker banded area where the strokes overlap. This is due to their use of transparency. Repeated strokes in the same area resemble shading.
ARTISTIC COLORING HINTS:
 |
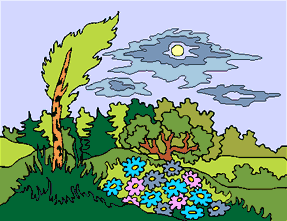
Artists often convey a sense of distance by making distant objects lighter and more pale in color. |
 |
 |
 |
 |
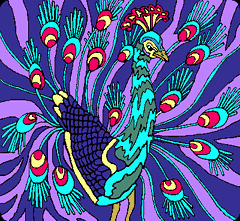
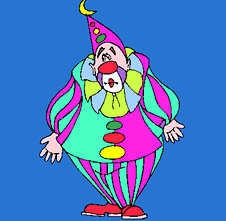
Using fewer colors or alternating harmonious colors can be more pleasing. |
 |
 |
  |
 |
 |
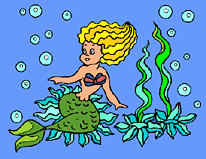
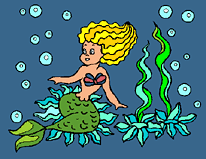
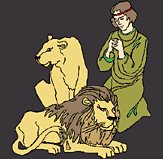
Placing a dark background color behind a light-colored picture and a light background color behind a dark-colored picture makes them stand out. |
 |
 |
     |
 |
 |
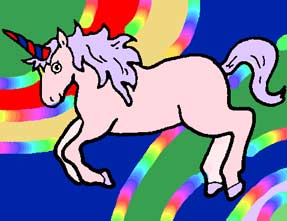
Create new coloring areas by drawing a line with the Marker tool and filling either side of the line with the Bucket tool. You could even use the Rainbow Brush tool to draw your boundary line. |
 |
 |
 |
 |
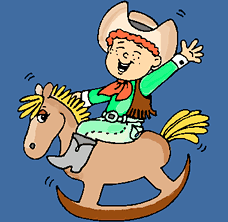
To create shadows first lay down a base layer by coloring an entire area with the marker tool without releasing the mouse button. Then stroke over only a portion of the same area with the marking tool to create a darker shade.
|
 |
 |
 |
 |
|


